
What is Snowflake?
Snowflake is a new era relational SQL data warehouse built for the cloud that seeks to enable seamless and fully elastic access to business-critical data that satisfies everyone from Analysts to IT to Finance.
But why – aren’t there enough Data Warehouses already?!
tl;dr Quantity != Quality.
Snowflake offers decoupled elastic compute and storage that is flexible enough to handle semi-structured data types such as JSON yet rigid enough to provide great performance (see benchmark) and consistency for real-time reporting.
A Database is a logical container storing references to schemas and tables
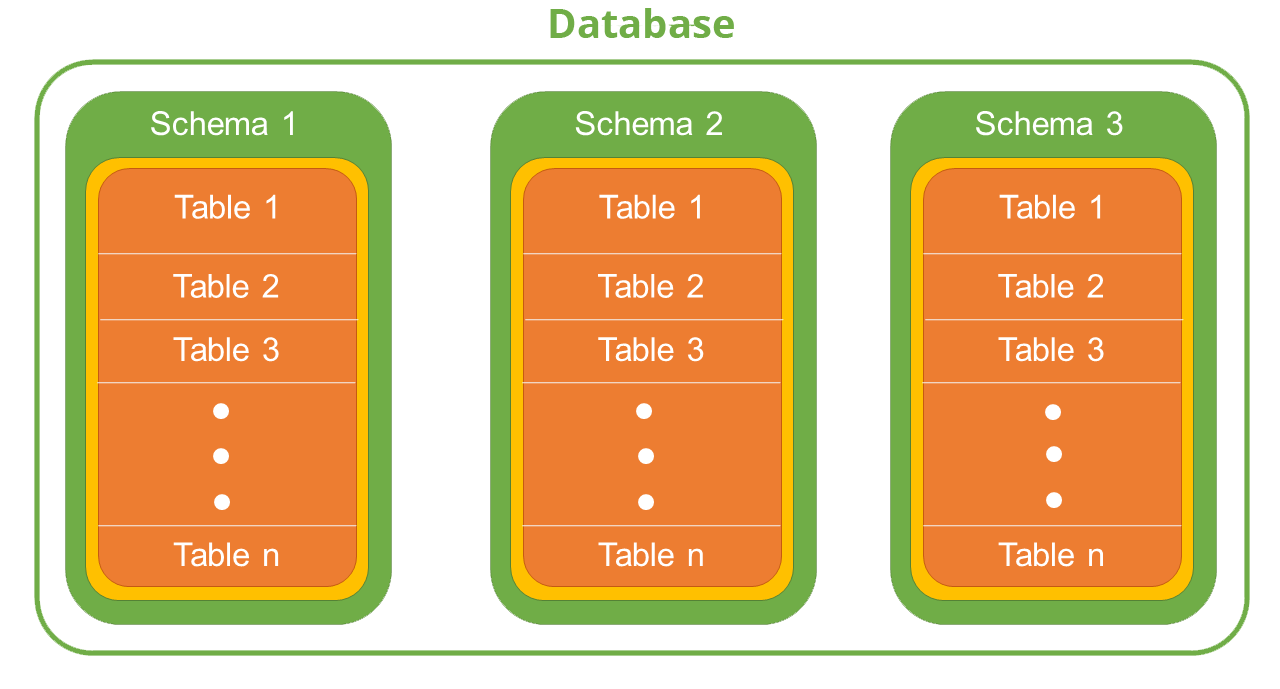
Schemas are logical abstractions that contain tables
Tables contain metadata references to data types, columns and other details surrounding storage of actual data
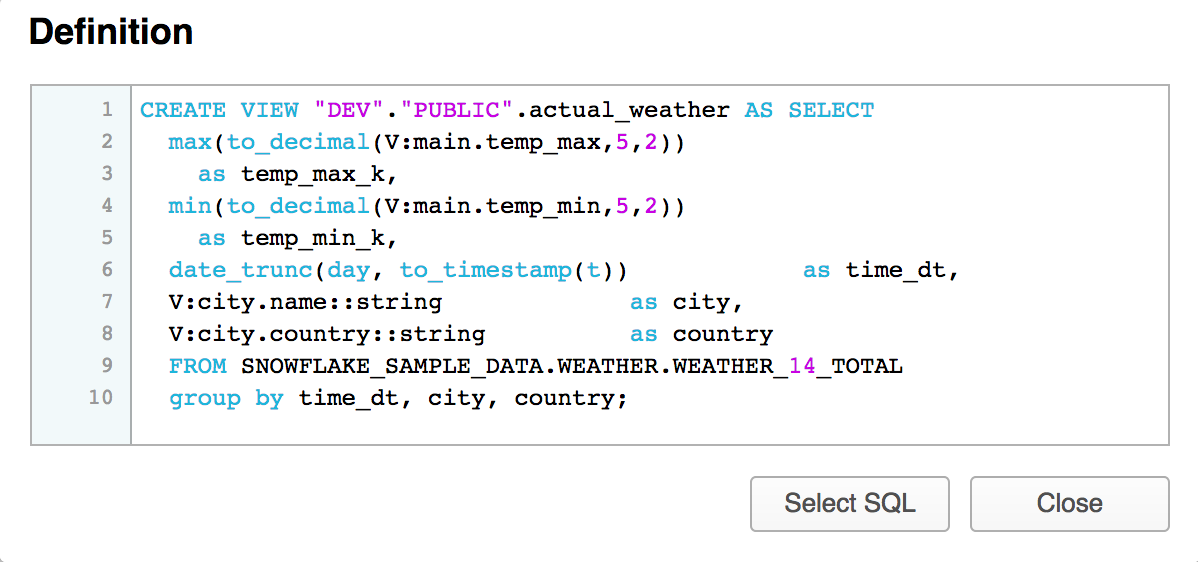
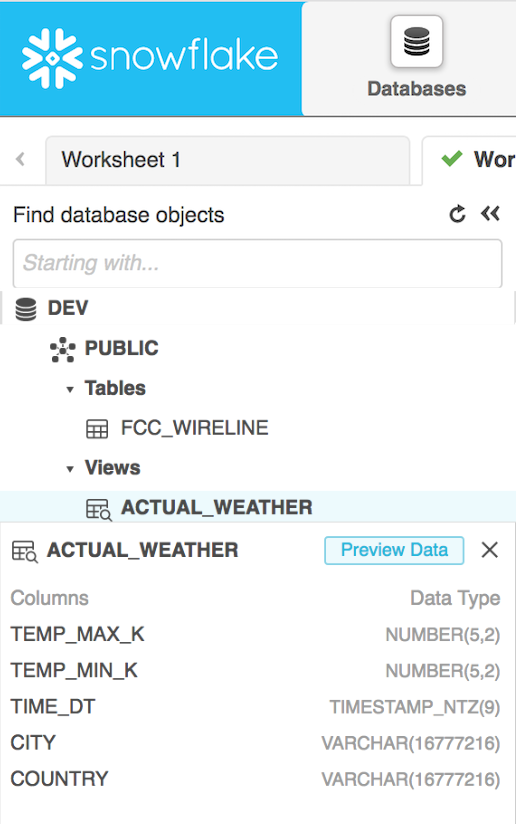
Views are abstractions of arbitrary SQL queries
Read more about Databases, Schemas, Tables and Views here
Sequences generate unique numbers across sessions and statements
Stages are locations where files are stored for loading into tables
File Formats are used to manage loading data in from supported file formats
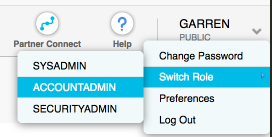
There are 4 default Roles:
- ACCOUNTADMIN – can manage everything (e.g. warehouses, databases, billing, users, etc) in the account
- SYSADMIN – can manage everything except account management (e.g. users & billing)
- SECURITYADMIN – can manage users and all facets of security (e.g. roles, policies, etc) including configuring existing warehouses, but cannot create warehouses
- PUBLIC – can access warehouses, write queries, create tables, etc
Ok, I’m sold – how can I get started?
Snowflake extends the typical SQL paradigm further than typically expected. With Snowflake, you can do basically anything and everything with SQL, from administrative tasks (e.g. user, database, and warehouse management) to traditional SQL query workloads (BI, analytics and engineering). Snowflake documentation already has a Snowflake in 20 minutes guide to getting started, which uses the snowsql command line to handle the entire process. Below, my guide will be visual (with screenshots) to show you how to do similar functionality using the web interface.
- Sign-up (you will need a credit card) & login @ https://www.snowflake.com – Azure or AWS
- Change your role to ACCOUNTADMIN
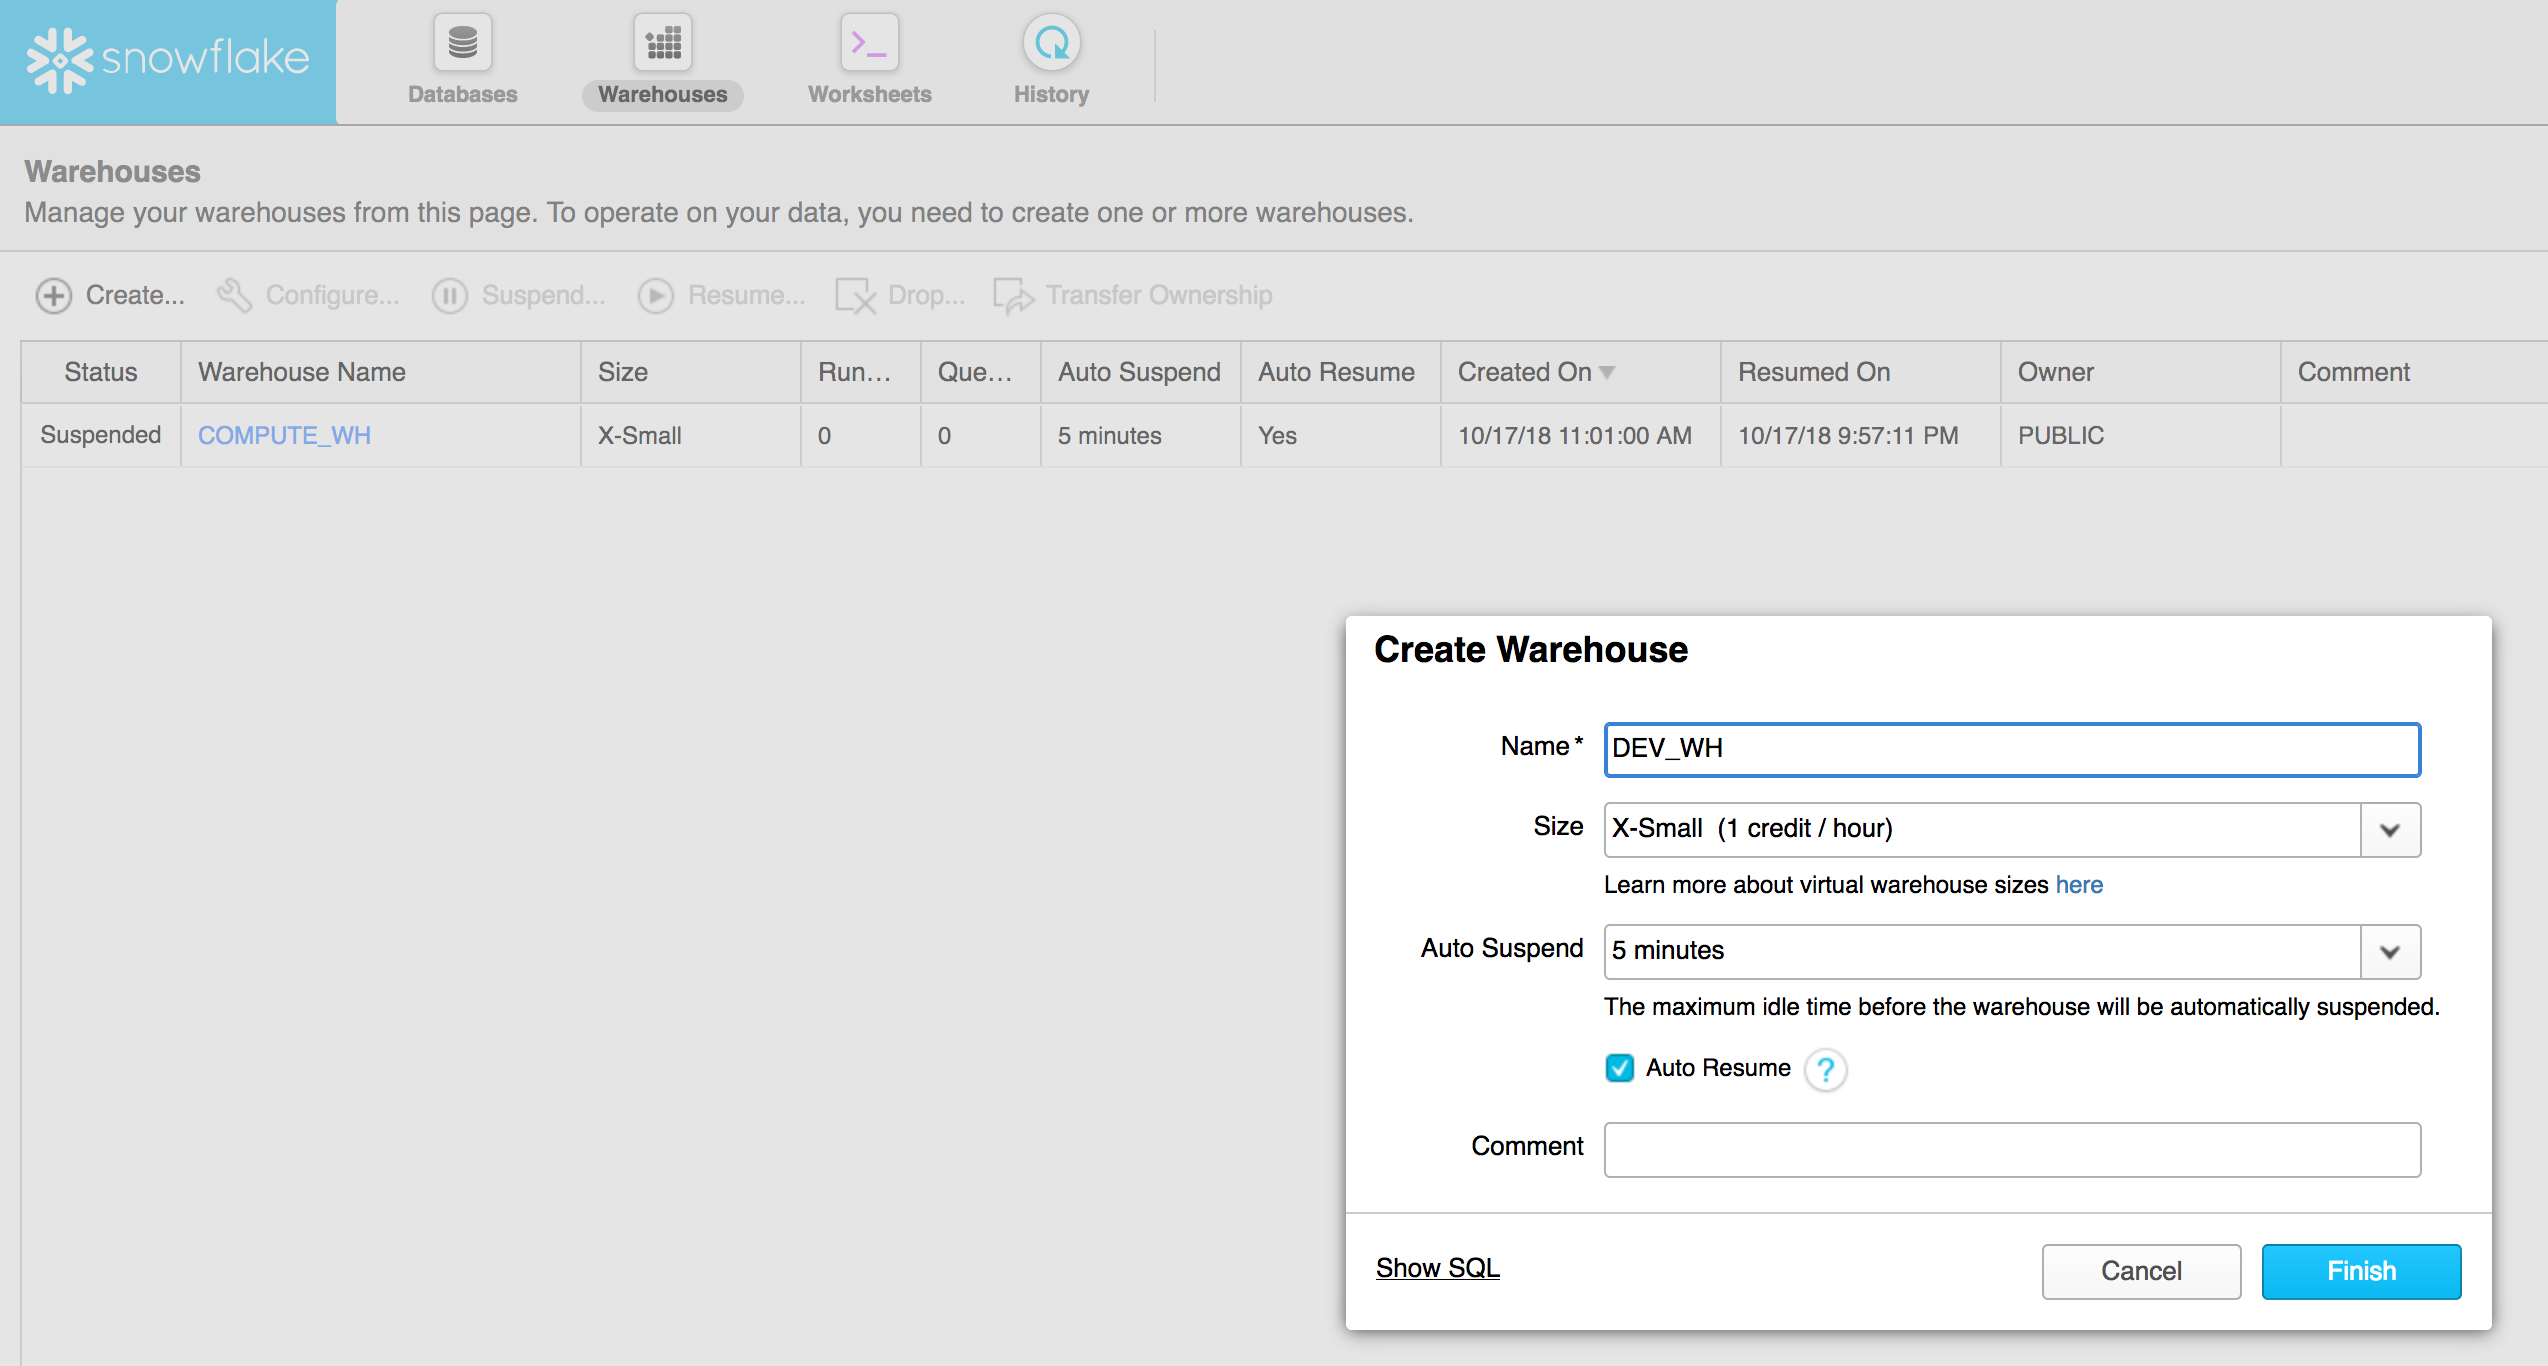
- Create a warehouse
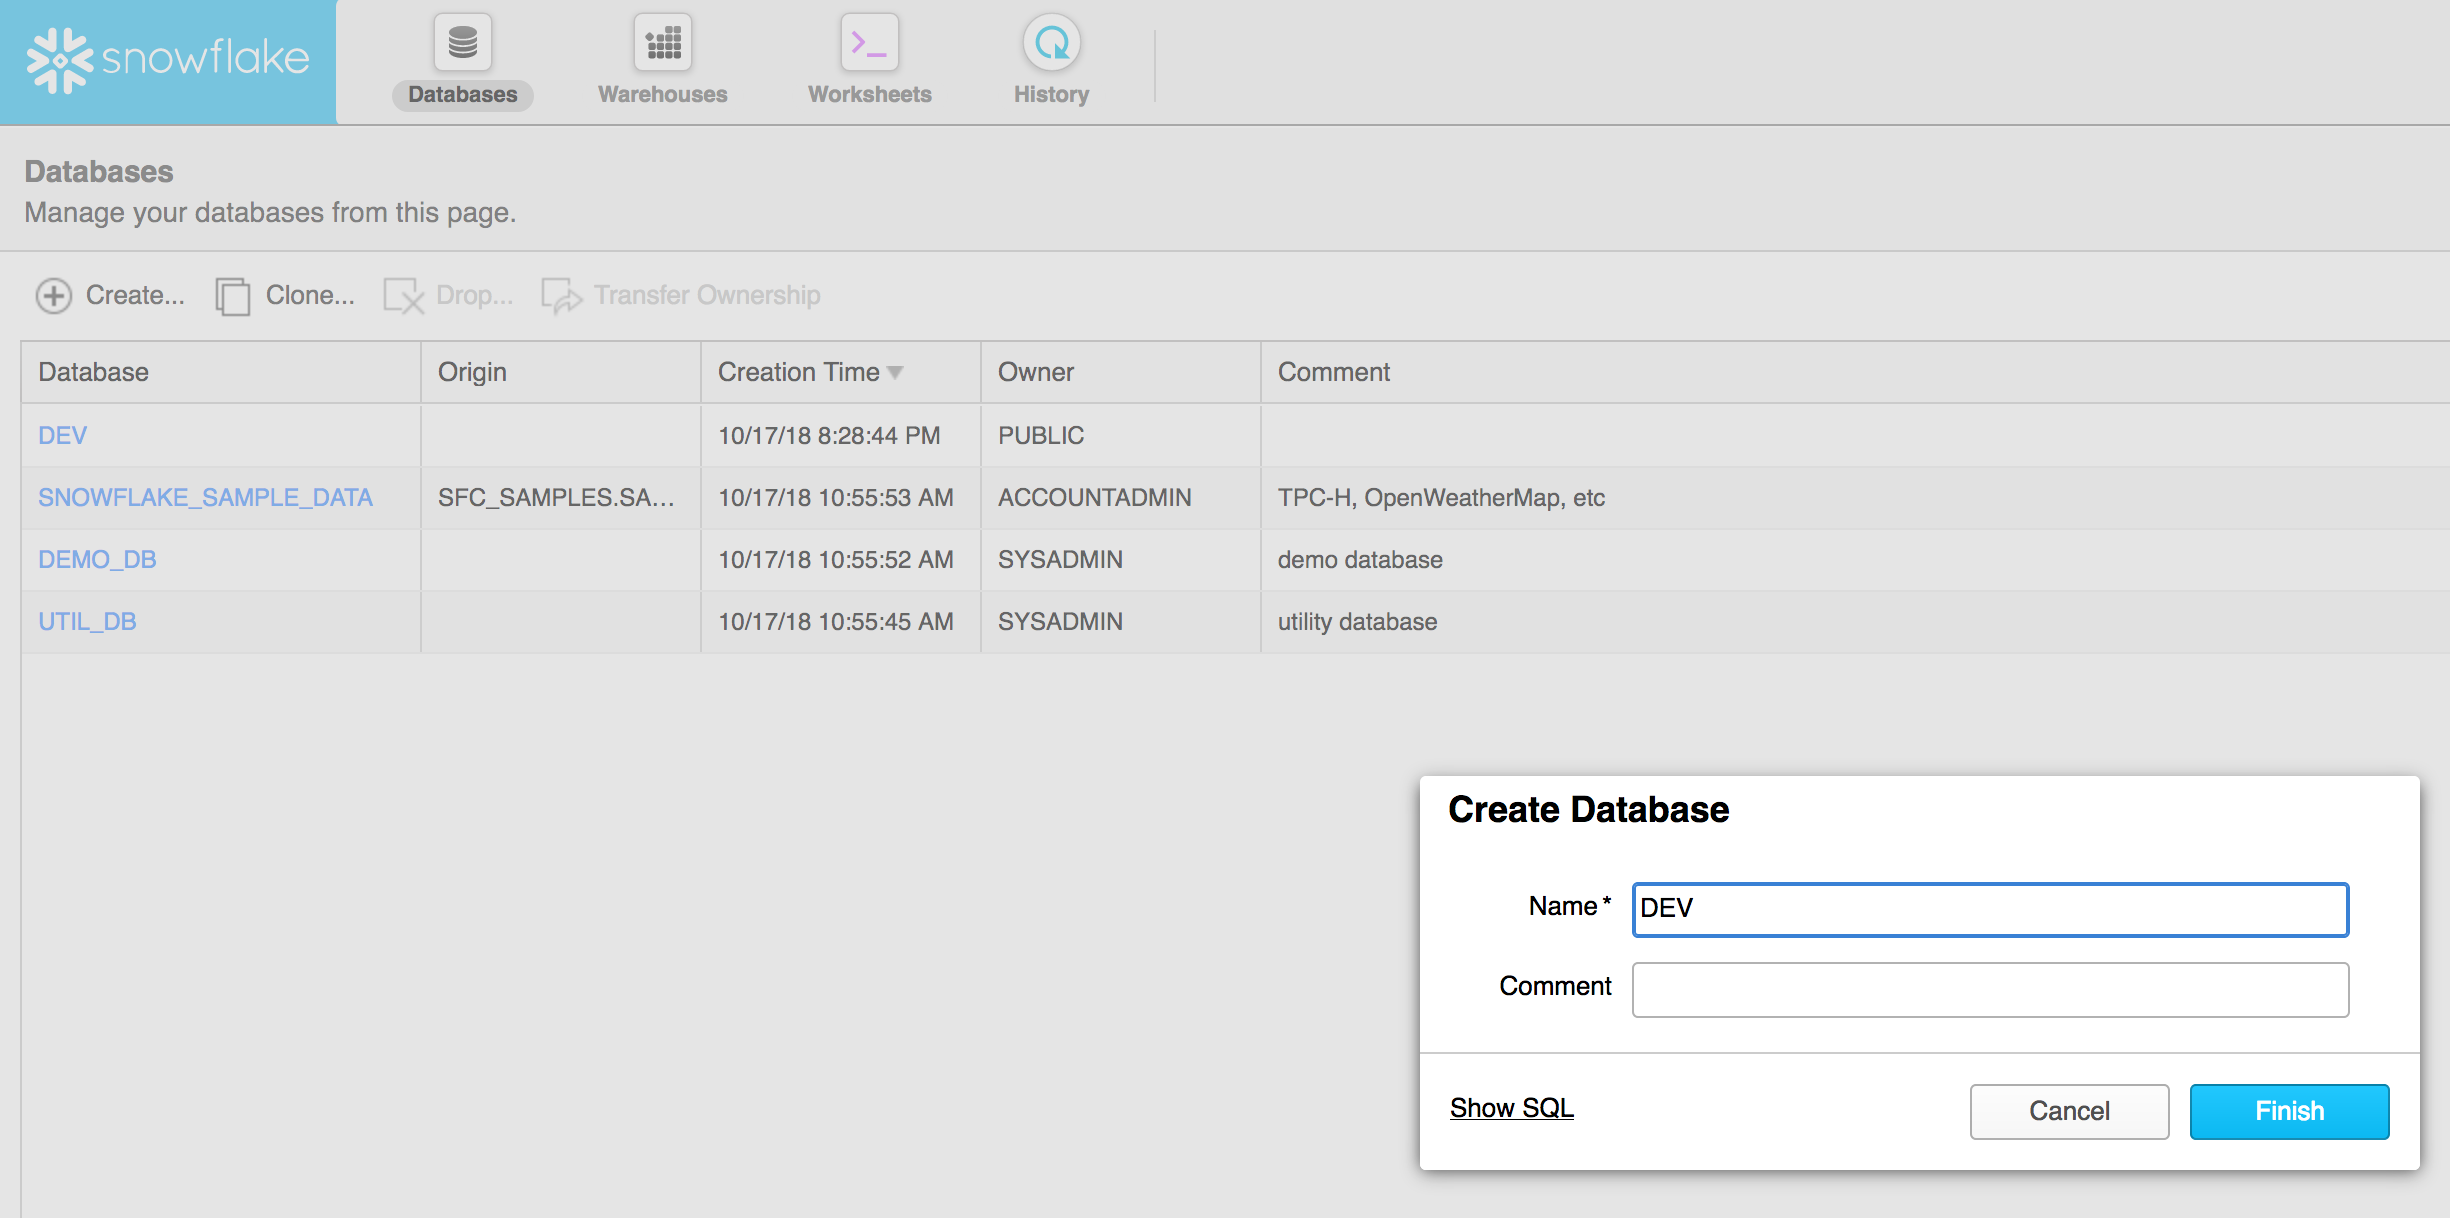
- Create a database
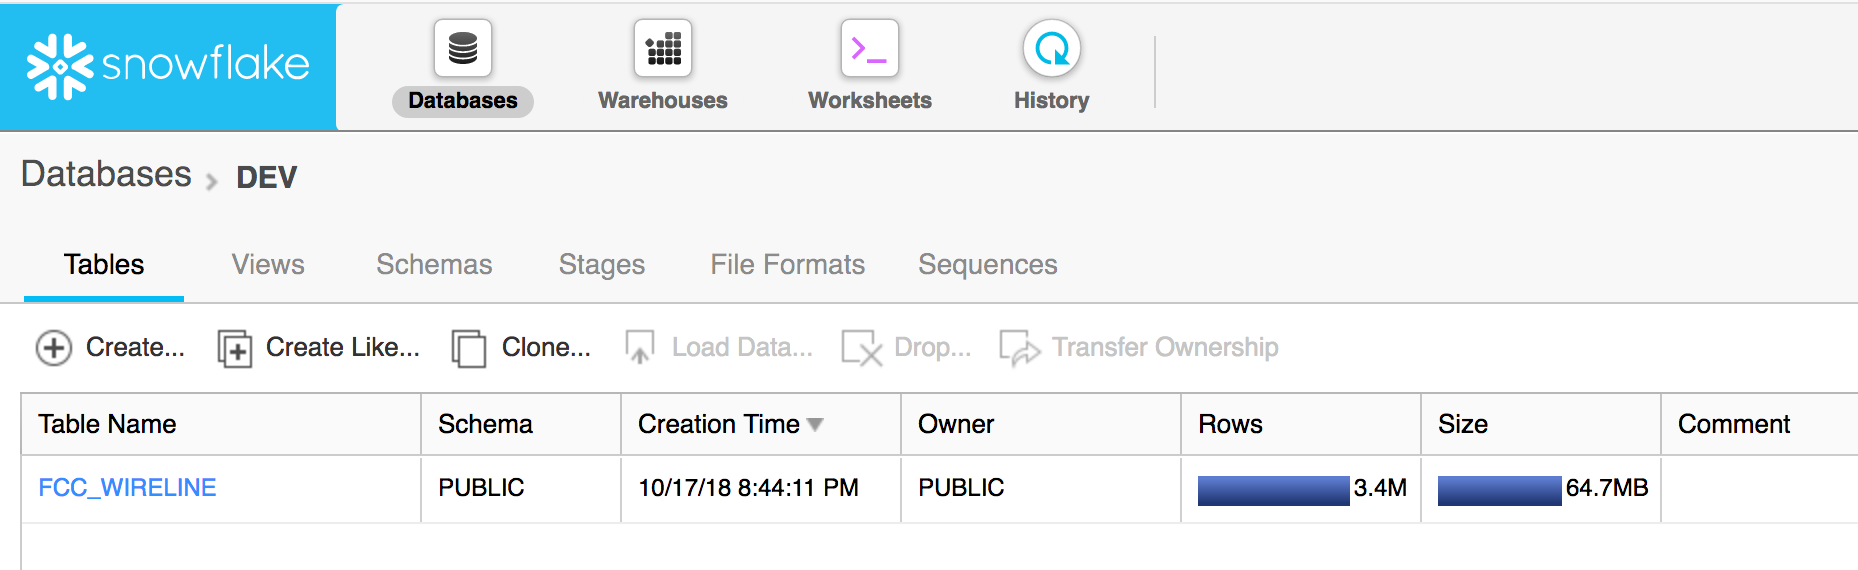
- Open the database
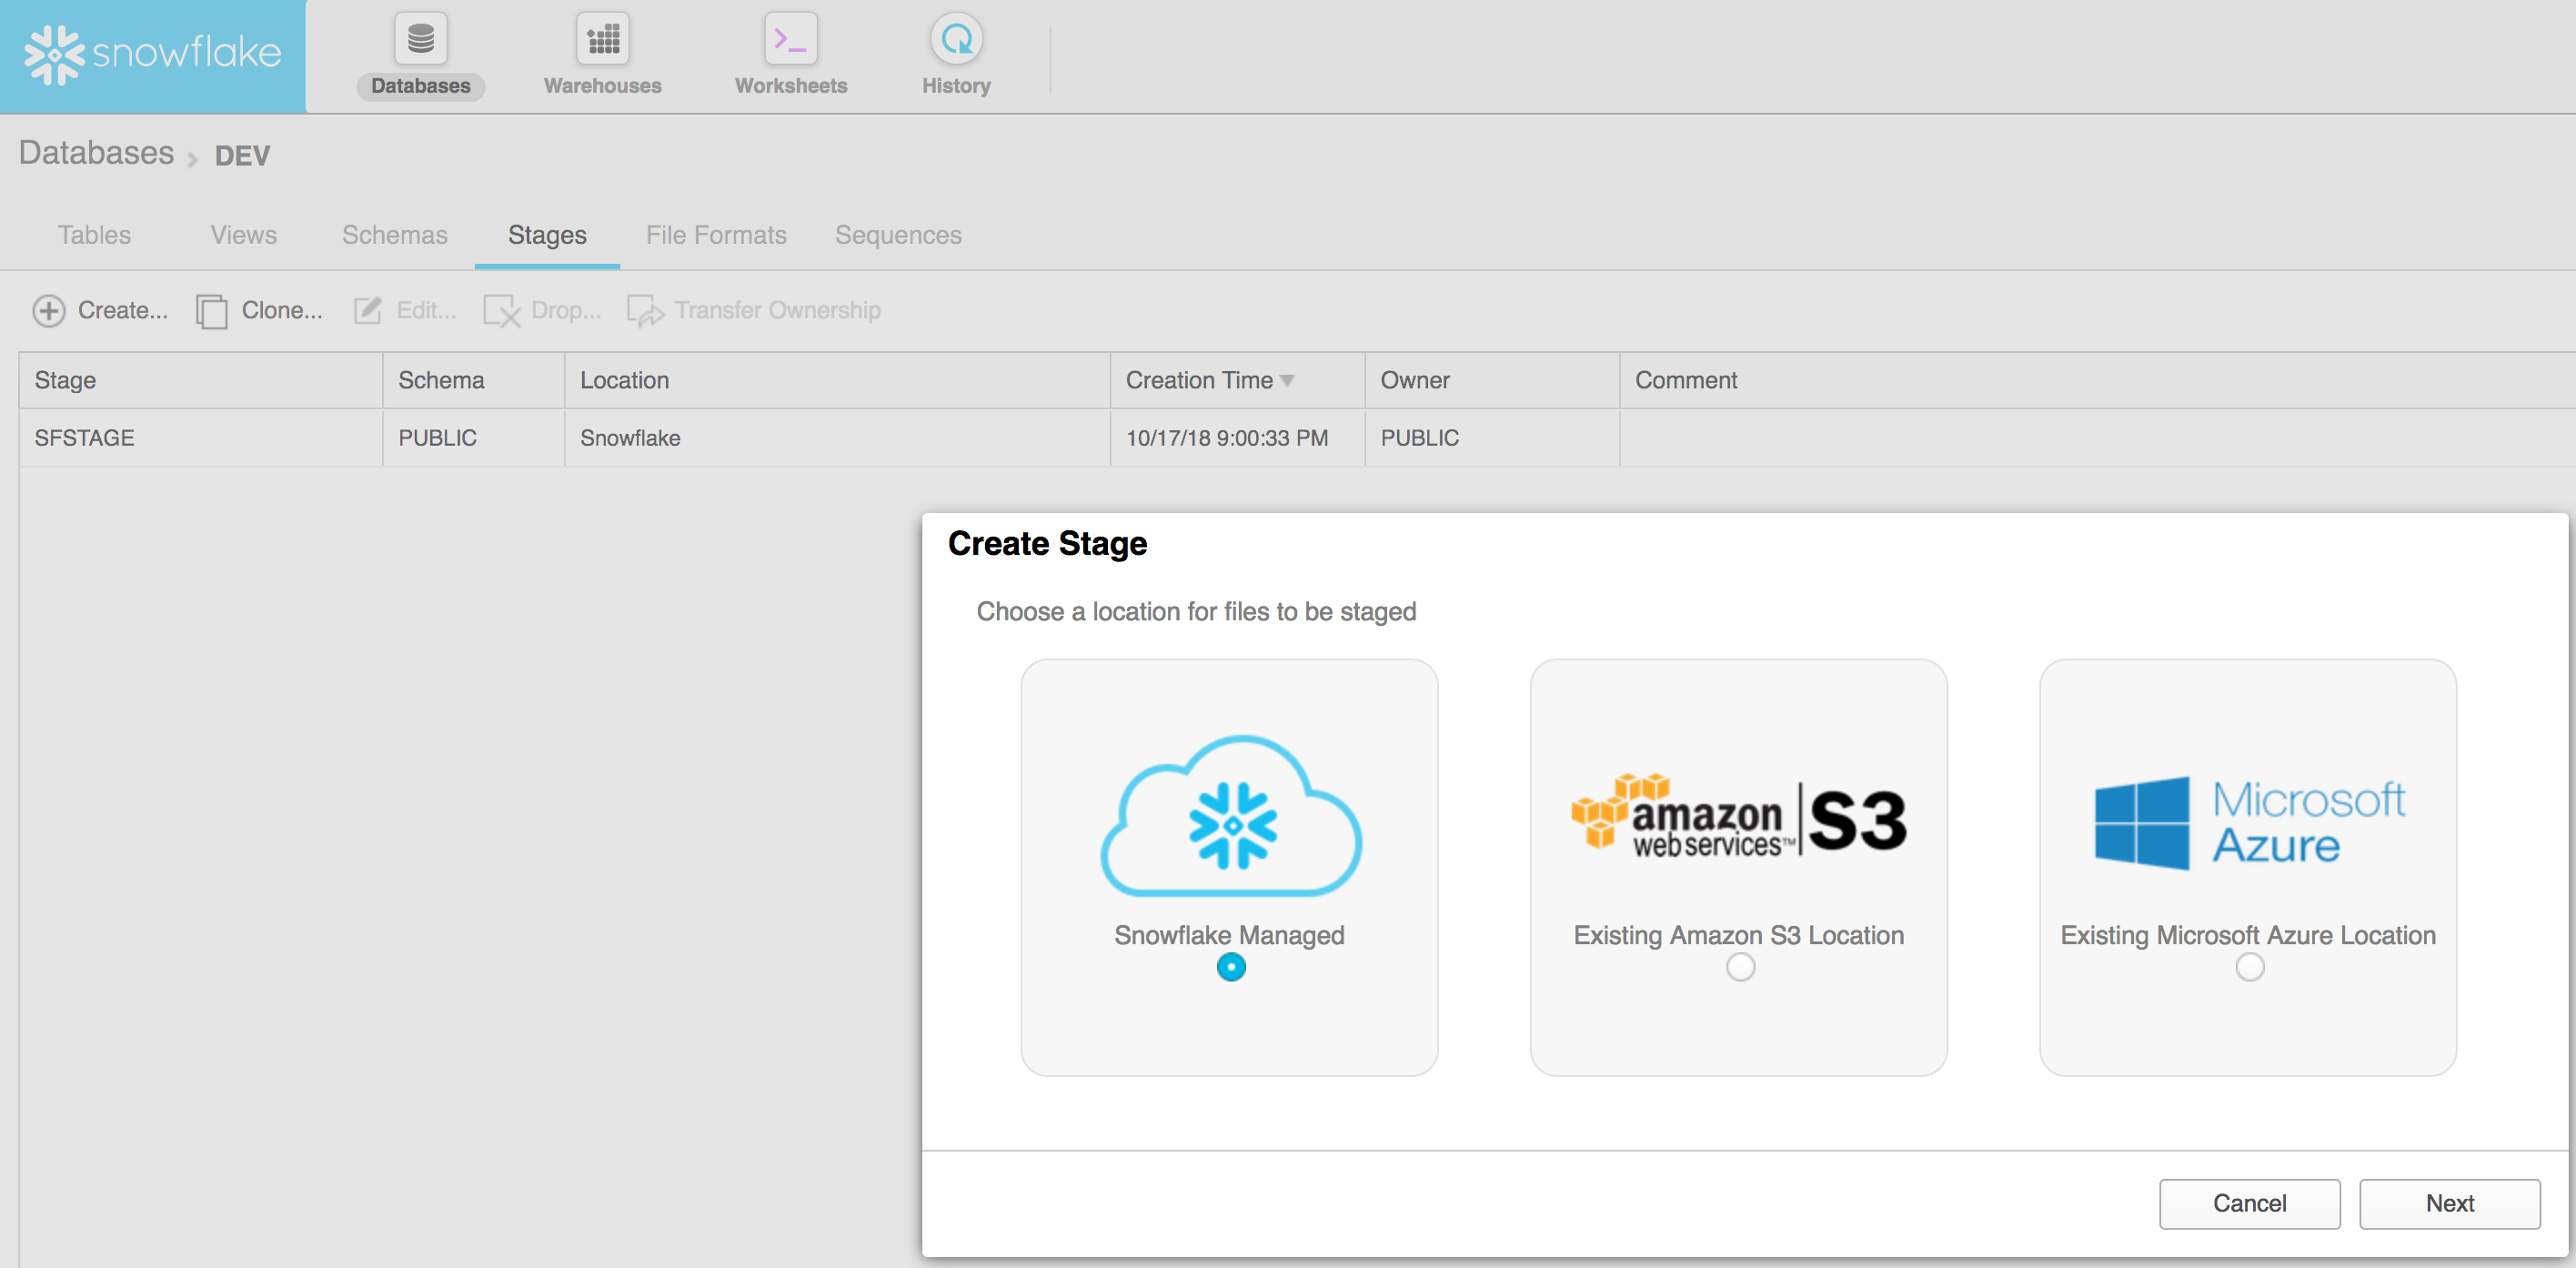
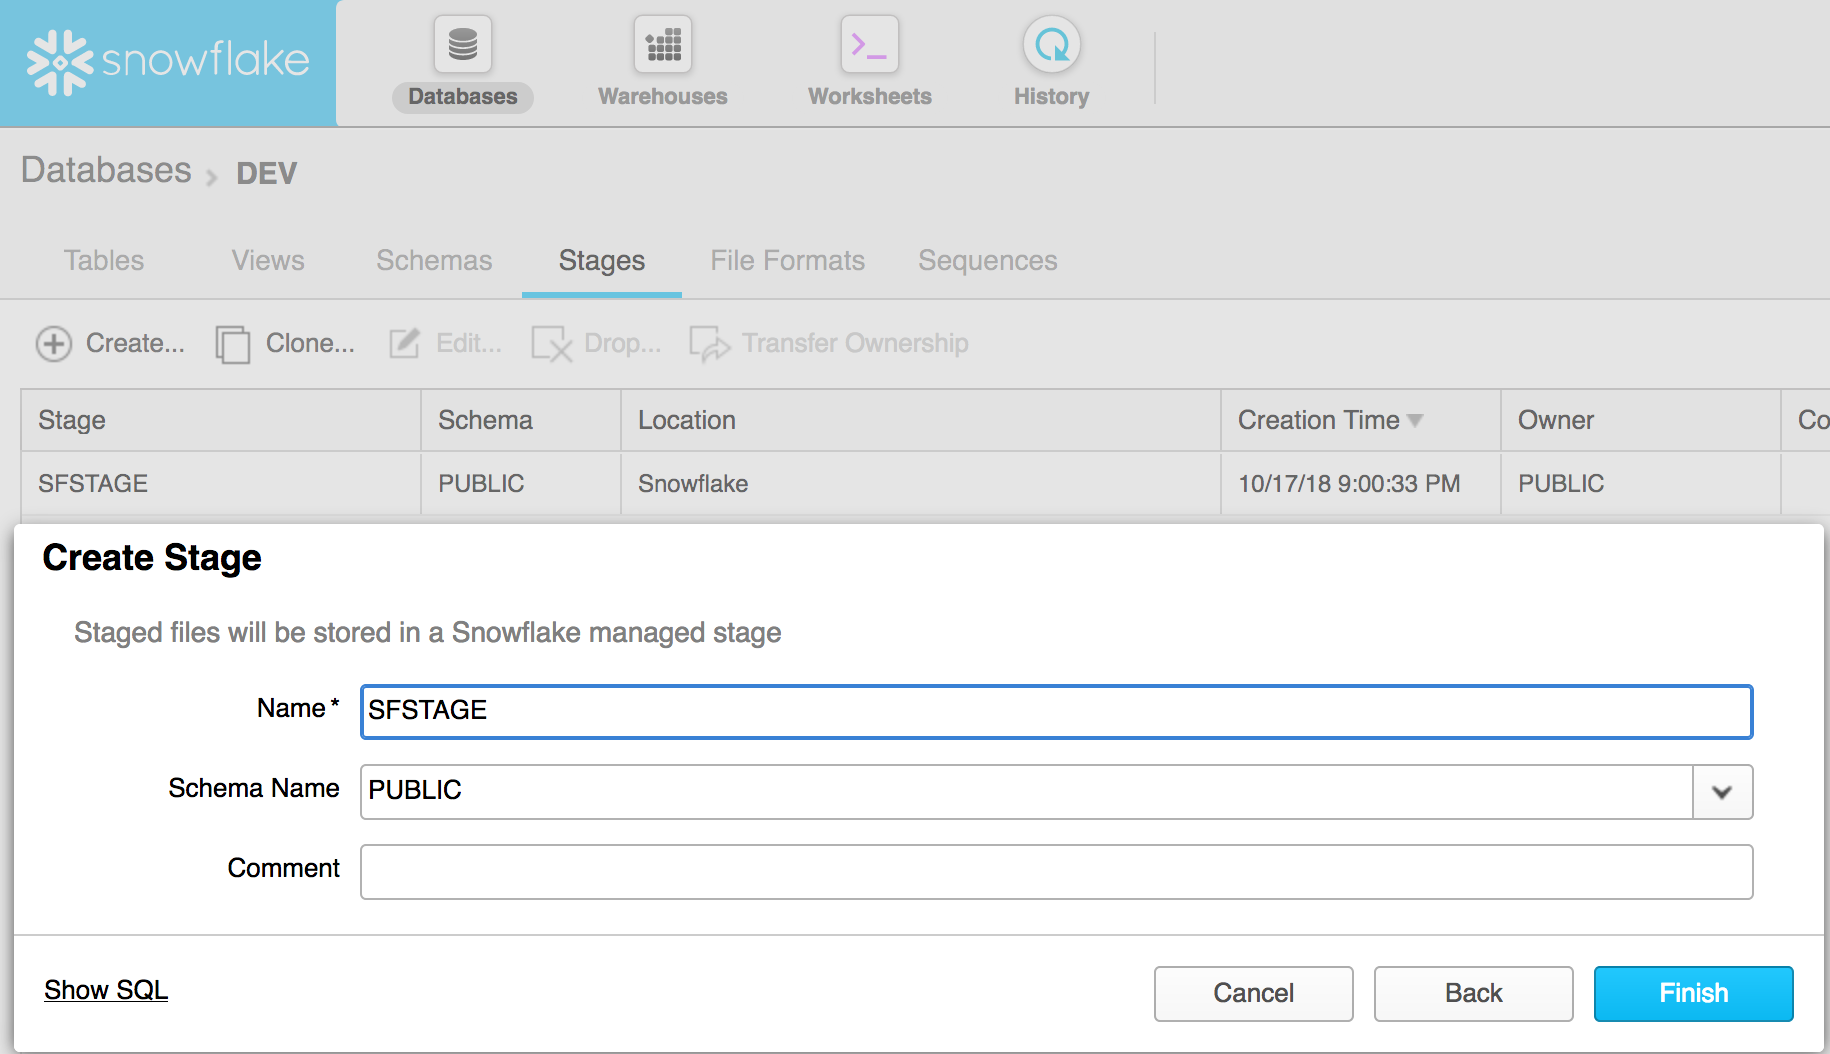
- Create a stage
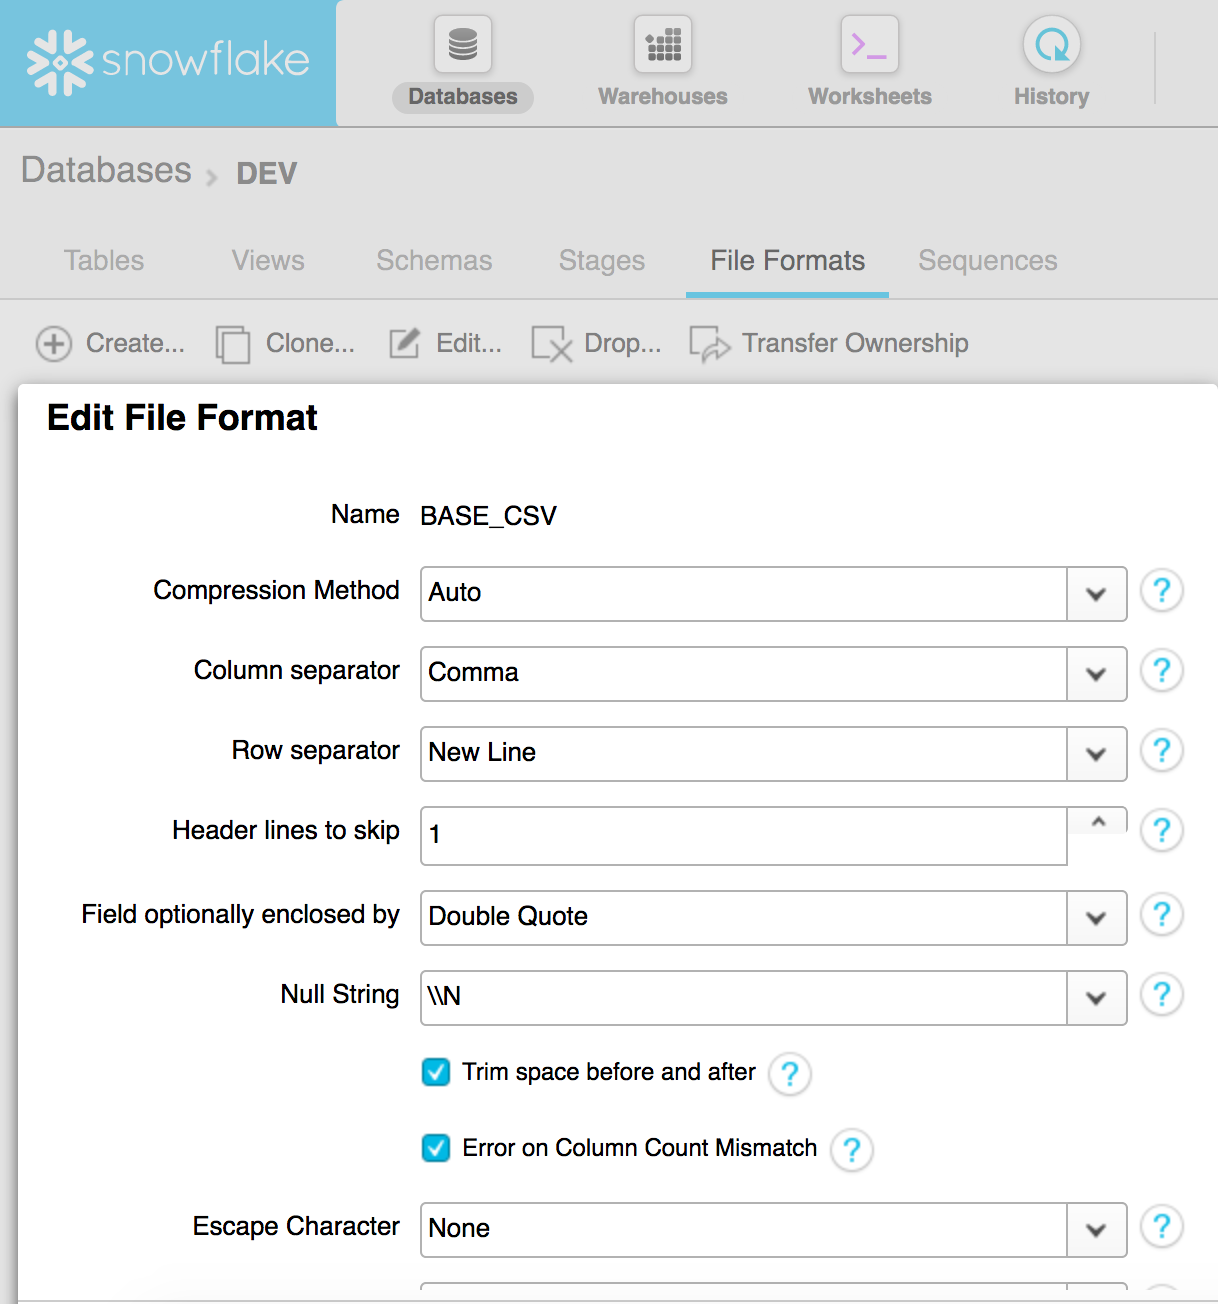
- Create a file format for CSV (other options are JSON, XML, Avro, ORC and Parquet)
Loading a file on your local computer into Snowflake can be done in a number of ways, which can be reviewed here
We’re going to use the UI to load a file since this is a visual getting started guide.
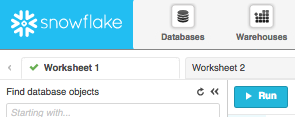
- Create a table (in a new worksheet)

CREATE OR REPLACE TABLE "DEV"."PUBLIC"."GREEN_TRIPS" (
"VENDORID" NUMBER,
"LPEP_PICKUP_DATETIME" TIMESTAMP,
"LPEP_DROPOFF_DATETIME" TIMESTAMP,
"STORE_AND_FWD_FLAG" STRING,
"RATECODEID" NUMBER,
"PULocationID" NUMBER,
"DOLocationID" NUMBER,
"passenger_count" NUMBER,
"trip_distance" DOUBLE,
"fare_amount" DOUBLE,
"extra" DOUBLE,
"mta_tax" DOUBLE,
"tip_amount" DOUBLE,
"tolls_amount" DOUBLE,
"ehail_fee" STRING,
"improvement_surcharge" DOUBLE,
"total_amount" DOUBLE,
"payment_type" NUMBER,
"trip_type" NUMBER
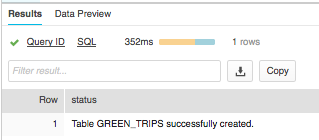
) COMMENT = 'NYC TLC Green Trip Data';Hit Run
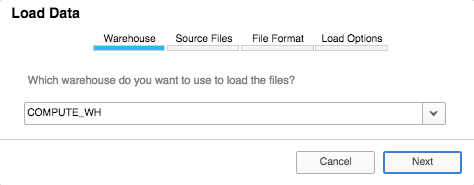
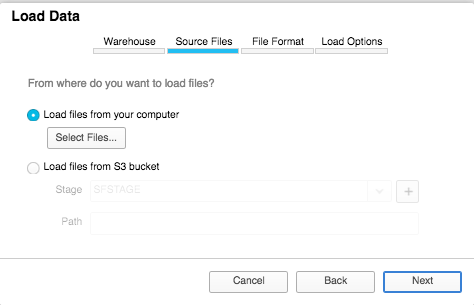
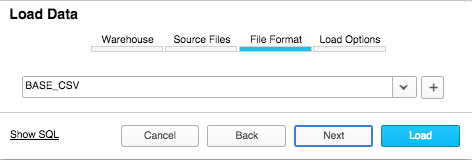
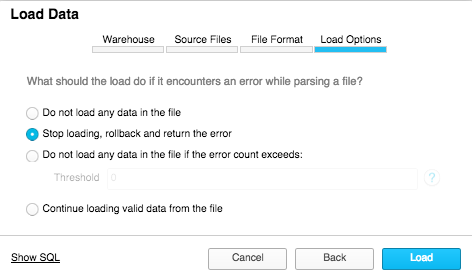
- Load file in via UI
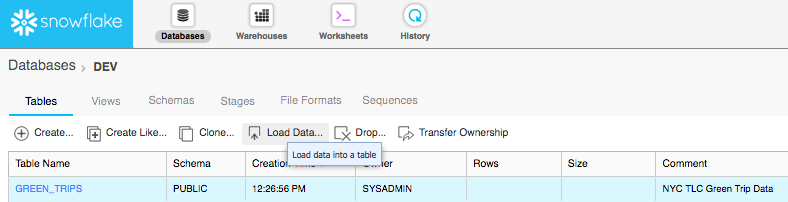
Download a sample data file from the NYC Taxi and Limousine Commission (TLC) here: Green trip data
This is what the actual SQL would look like if you ran a version of these commands in SQL (such as in the snowsql command line client):
put file:///Users/garren/Downloads/green_tripdata_2017-06.csv @SFSTAGE; // This uses the SFSTAGE named internal stage

COPY INTO "DEV"."PUBLIC"."GREEN_TRIPS" FROM @SFSTAGE/green_tripdata_2017-06.csv FILE_FORMAT = '"DEV"."PUBLIC"."BASE_CSV"' ON_ERROR = 'ABORT_STATEMENT' PURGE = TRUE;
SELECT COUNT(*)
FROM GREEN_TRIPS;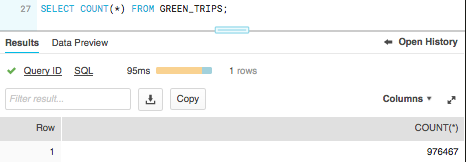
Congrats! You’ve now setup your snowflake environment, created a table, loaded data into it and began consuming it!
Disclaimer
I have no affiliation with Snowflake and was not asked to write this guide – I’m just a fan of technology solving real problems with great potential